×

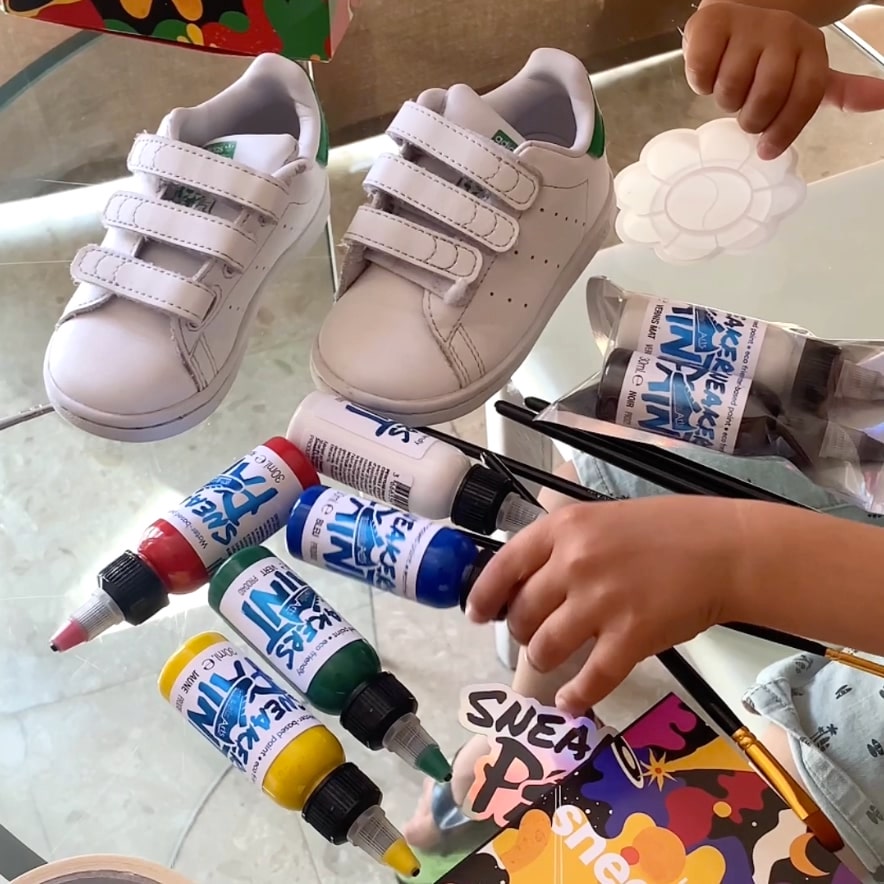
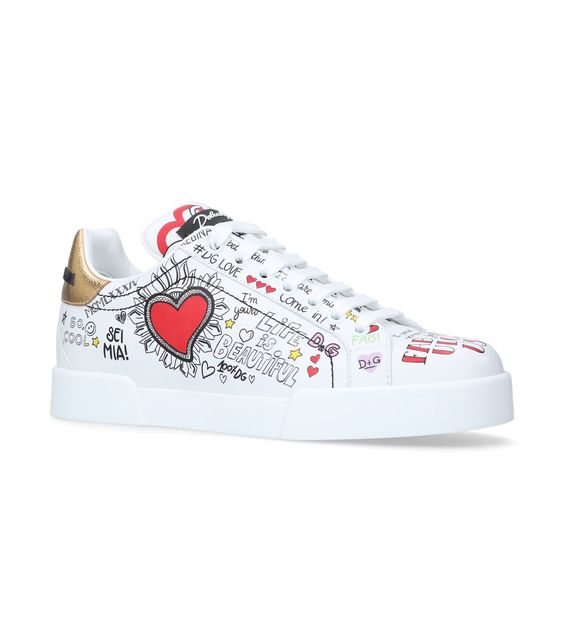
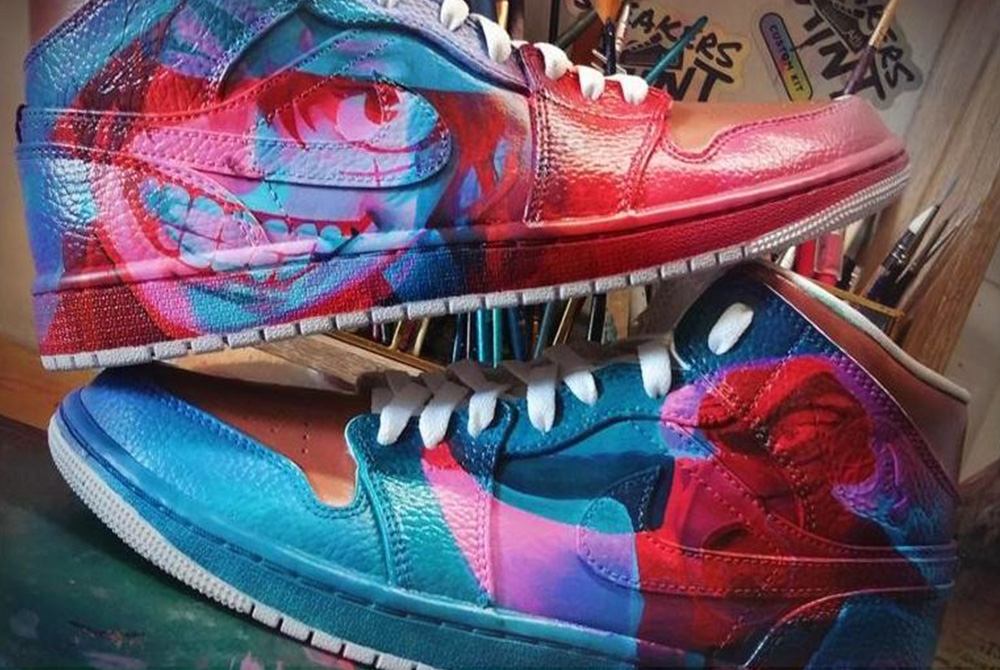
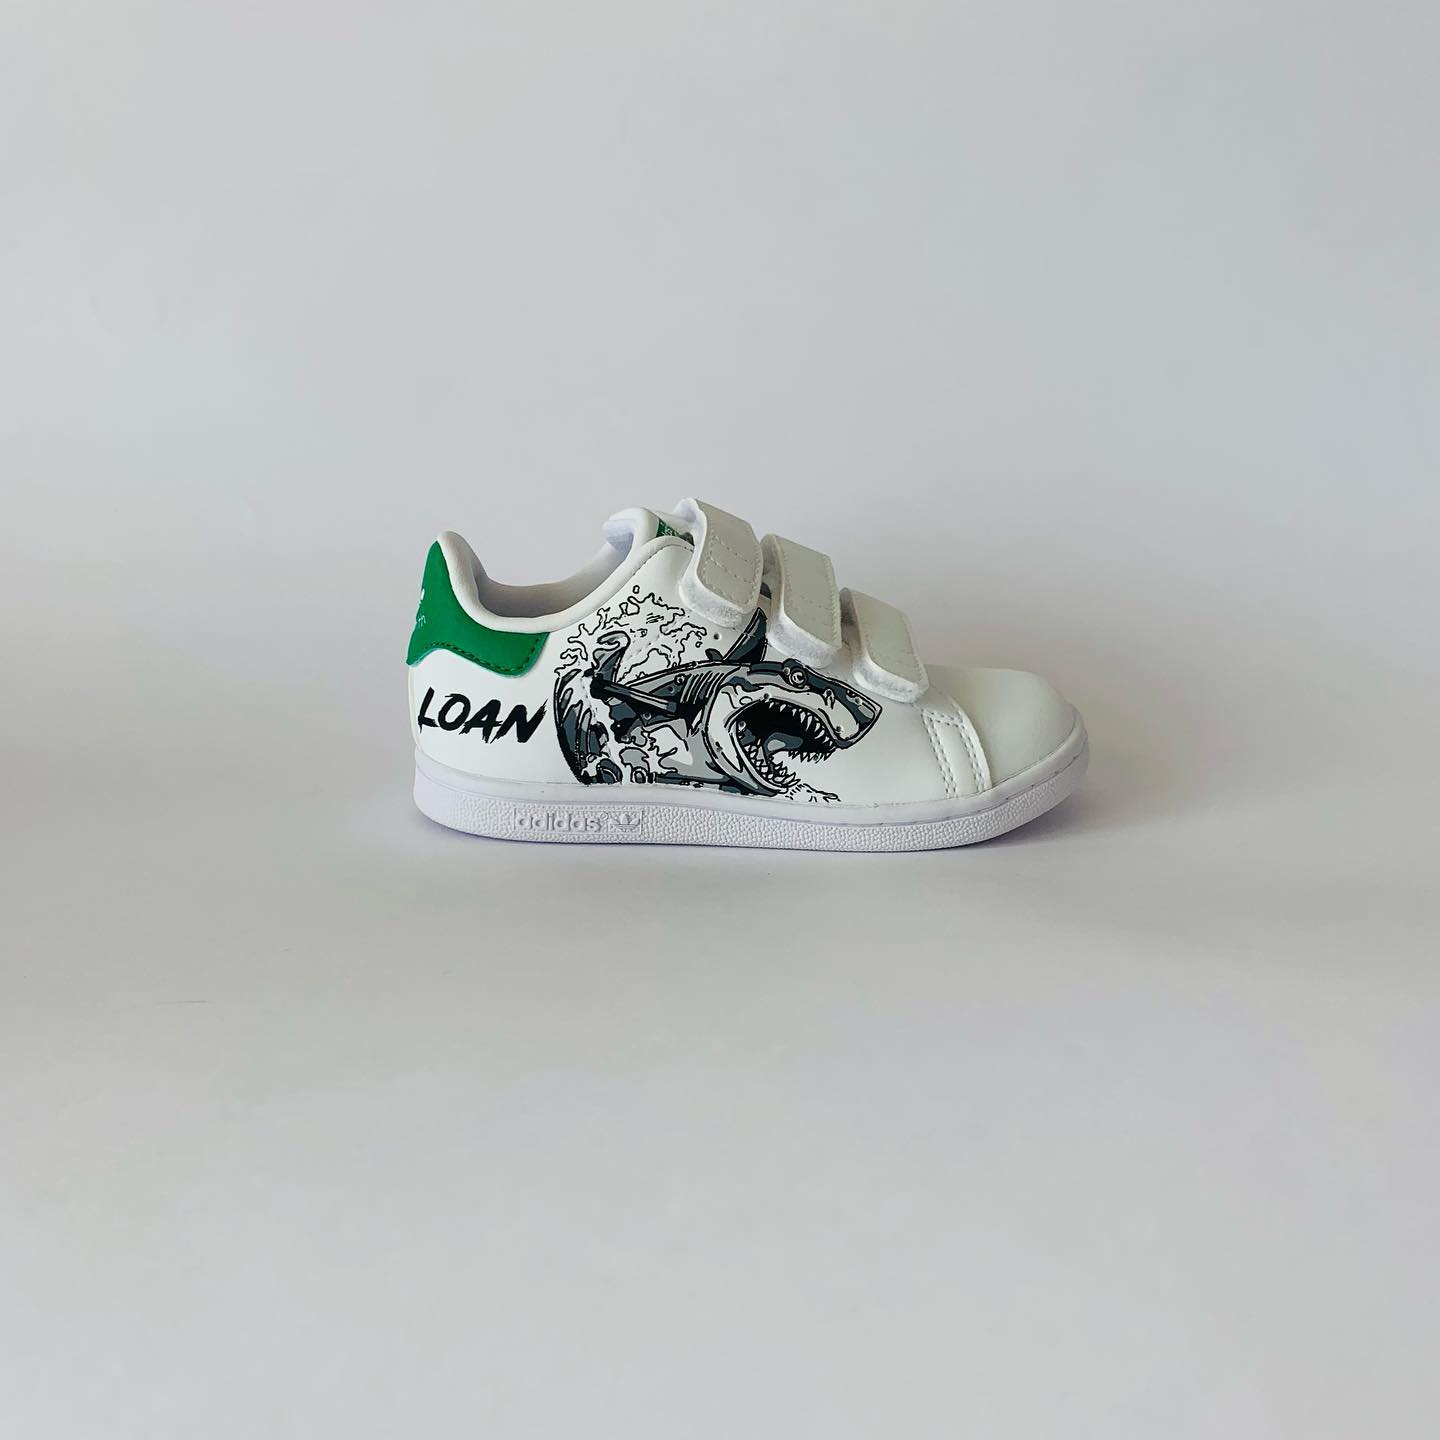
Draw on your trainers

Categories : Custom Shoes , Tips

To customise and colour your trainers, it's sometimes easier to use felt-tip pens or markers to get the best results with the colours of your choice. This article explains how to use a marker suitable for leather and textiles.

Colouring with a marker

Before colouring in your trainers, make sure they are clean. For a successful custom, you can use nail varnish remover with a cotton pad, especially if the pair is used every day.

Create an outline or cartoon effect

With its 3mm lead, the marker can be used to produce thick lines or outlines for a cartoon effect, for example. Felt-tip pens are very practical to hold, so you can do this type of work more quickly while maintaining the same line thickness.

Drawing on your shoes

Colouring your trainers with a marker also makes it easy to draw a picture or fill in an area. So it's much more practical for having fun with children and teaching them to draw on trainers. It's a great way to share a manual activity with the little ones.

Writing or making patterns

For even finer lines, turn to felt-tip pens for trainers, with a 0.7mm tip in the case of SneakArts markers for leather and textiles.

Writing on your shoes

Thanks to the felt-tip pen, you can write a name or a phrase very simply on your shoes. Whether it's for a wedding, a birth or a birthday. 

You can also write your Instagram handle on your trainers or sign your creation.

Drawing precise patterns

If you want a pair of sneakers that reflects your personality, there's nothing better than being able to draw small designs on them. Felt-tip pens offer greater precision, so you can draw smaller shapes or designs.  For example, hearts, stars or the outline of a character.

By combining text and motifs in different colours, you can create unique trainers.

Recharging felt-tip pens and markers

Thinning the paint

To fill a marker before colouring in your trainers, you first dilute the paint using an empty pot and the colour of your choice. 

You have two options:

- Dilute the paint with 10% water.

- Thin the paint with 50% matt varnish.

Finally, simply mix the bottle.

Filling the felt

Once your mix is ready, you'll need to dismantle your marker. To do this, remove the cap and unscrew the tip. Then remove the lead from the reservoir, taking care to grab the first notch so as not to touch the spring.

Next, fill the marker using a syringe: the 3mm marker contains 10mL and the 0.7mm marker contains 3mL. Finally, reassemble the mechanism in the opposite direction to use your marker.

Here are a few ideas for marker drawings to get your creative juices flowing.

Share this content