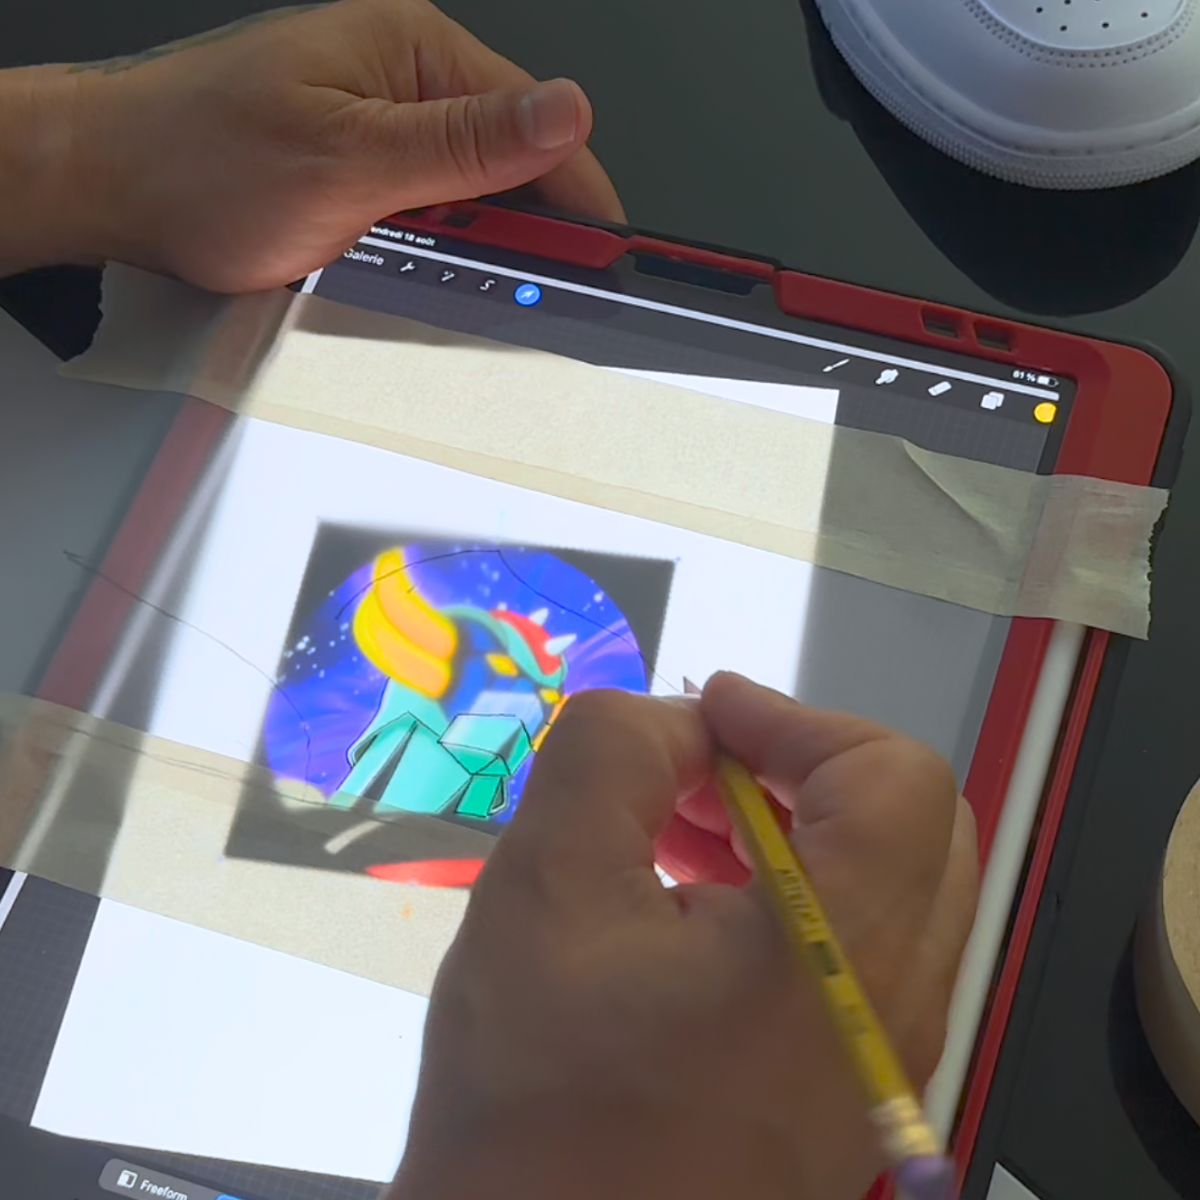
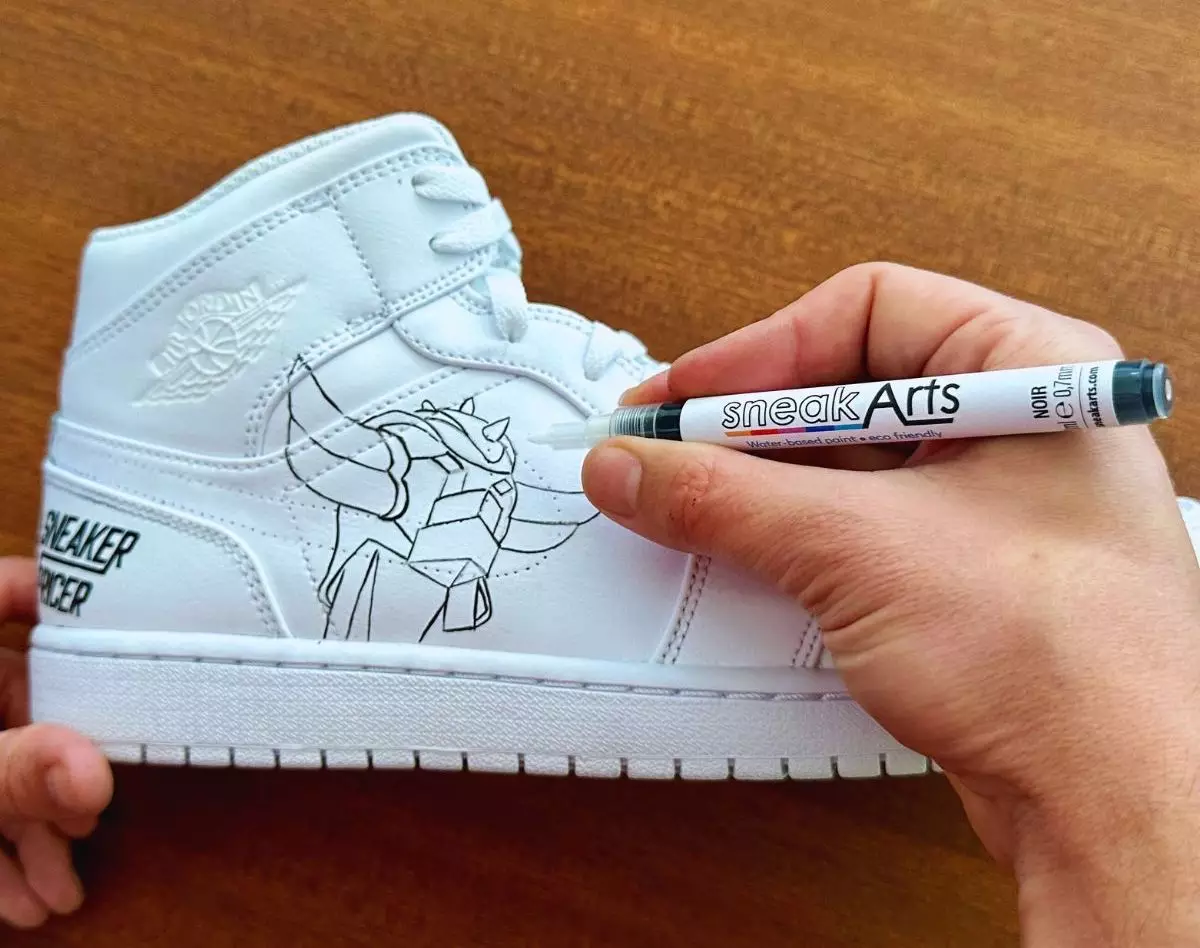
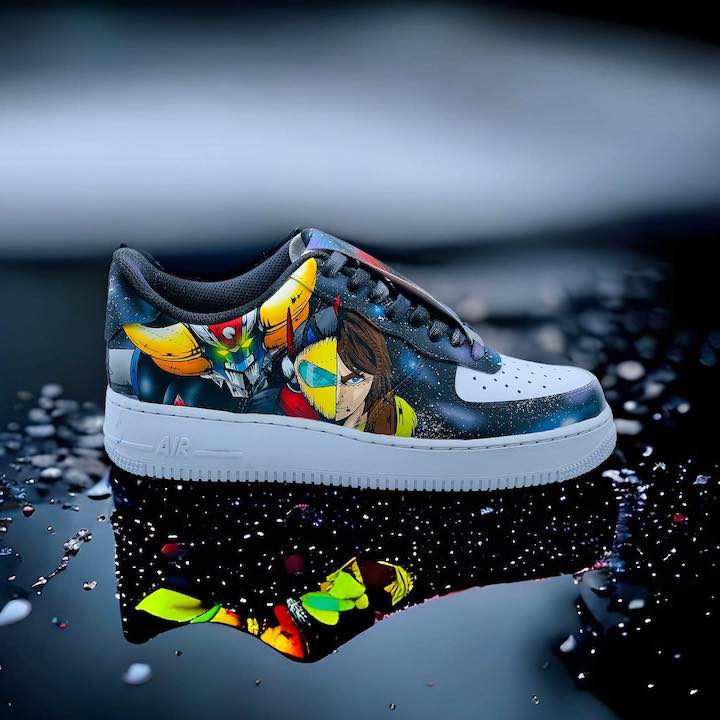
Drawing on your shoes
There are two possible techniques for creating a design on a shoe or item of clothing, which we'll look at in this article. This will make it easy for you to create your designs and then apply paint to customise them.
Reproduce a design on your shoes
Trace the contours of the shoe
To get the right size design on your shoes, you first need to outline the area where you want to put the design.
To do this
- take some masking tape and place it over the area to be drawn
- use a 2HB pencil to trace the outline on the tape
- get your masking tape - take your tracing paper and place it on the masking tape
- Use a pencil to trace the contours on the layer (front side)
- Take your layer and turn it over to trace the outlines on the back again (this will ensure that you don't have the outlines of the trainer when you draw on the shoe).
- erase the contours on the front of the layer

Recovering your design
To create a drawing using a layer, start by retrieving it from a tablet (preferably an iPad or similar).
- find the design you want on your shoes
- open ProCreate or a similar application
- place your layer over the design and adjust it using the application (zoom, rotate, etc.)
- secure your layer with tapeÂ
To make sure you don't move the design:
- take a screenshot in ProCreate
- then open the capture in the Lightbox trace application
- Finally, trace the outline of your design with your pencil
Transfer the design onto your shoe
Now you have the outlines on the layer, all you need to do is get the design on the shoe:
- place the masking tape on the layer (in several strips if necessary)
- press down on the tape with a card so that the pencil on the tracing paper settles on it
- peel off the tape, making sure that the pencil has settled on it properly
- apply the tape to your shoe in the right direction
- Press the tape again with a card so that the pencil settles on the shoe
- remove the tape to find your drawing on the shoe

Drawing with a stencil
The other, simpler technique is to use a stencil only to obtain the contours of your drawing more easily. However, the precision will be less than with the tracing paper technique because the outlines will necessarily be thicker.
Créer un pochoir avec son dessin
La première étape consiste à créer votre dessin sur l'outil en ligne de création de pochoir. En important de préférence votre dessin en noir et blanc, avec des contours suffisamment épais pour pouvoir les remplir avec de la peinture noire par exemple.

Applying your stencil
Once you have your stencil, simply apply it to your shoe. You can do this using transfer film and the stencilling technique we've detailed in another blog post, as well as in our Youtube video.
Paint your design on your shoes
You can now paint your design, first outlining it and then applying the colours of your choice.
Painting contours
To create your contours, use a precision brush and special black leather paint for optimum resistance. Then apply the different colours in two or three coats, once the black paint is completely dry.